
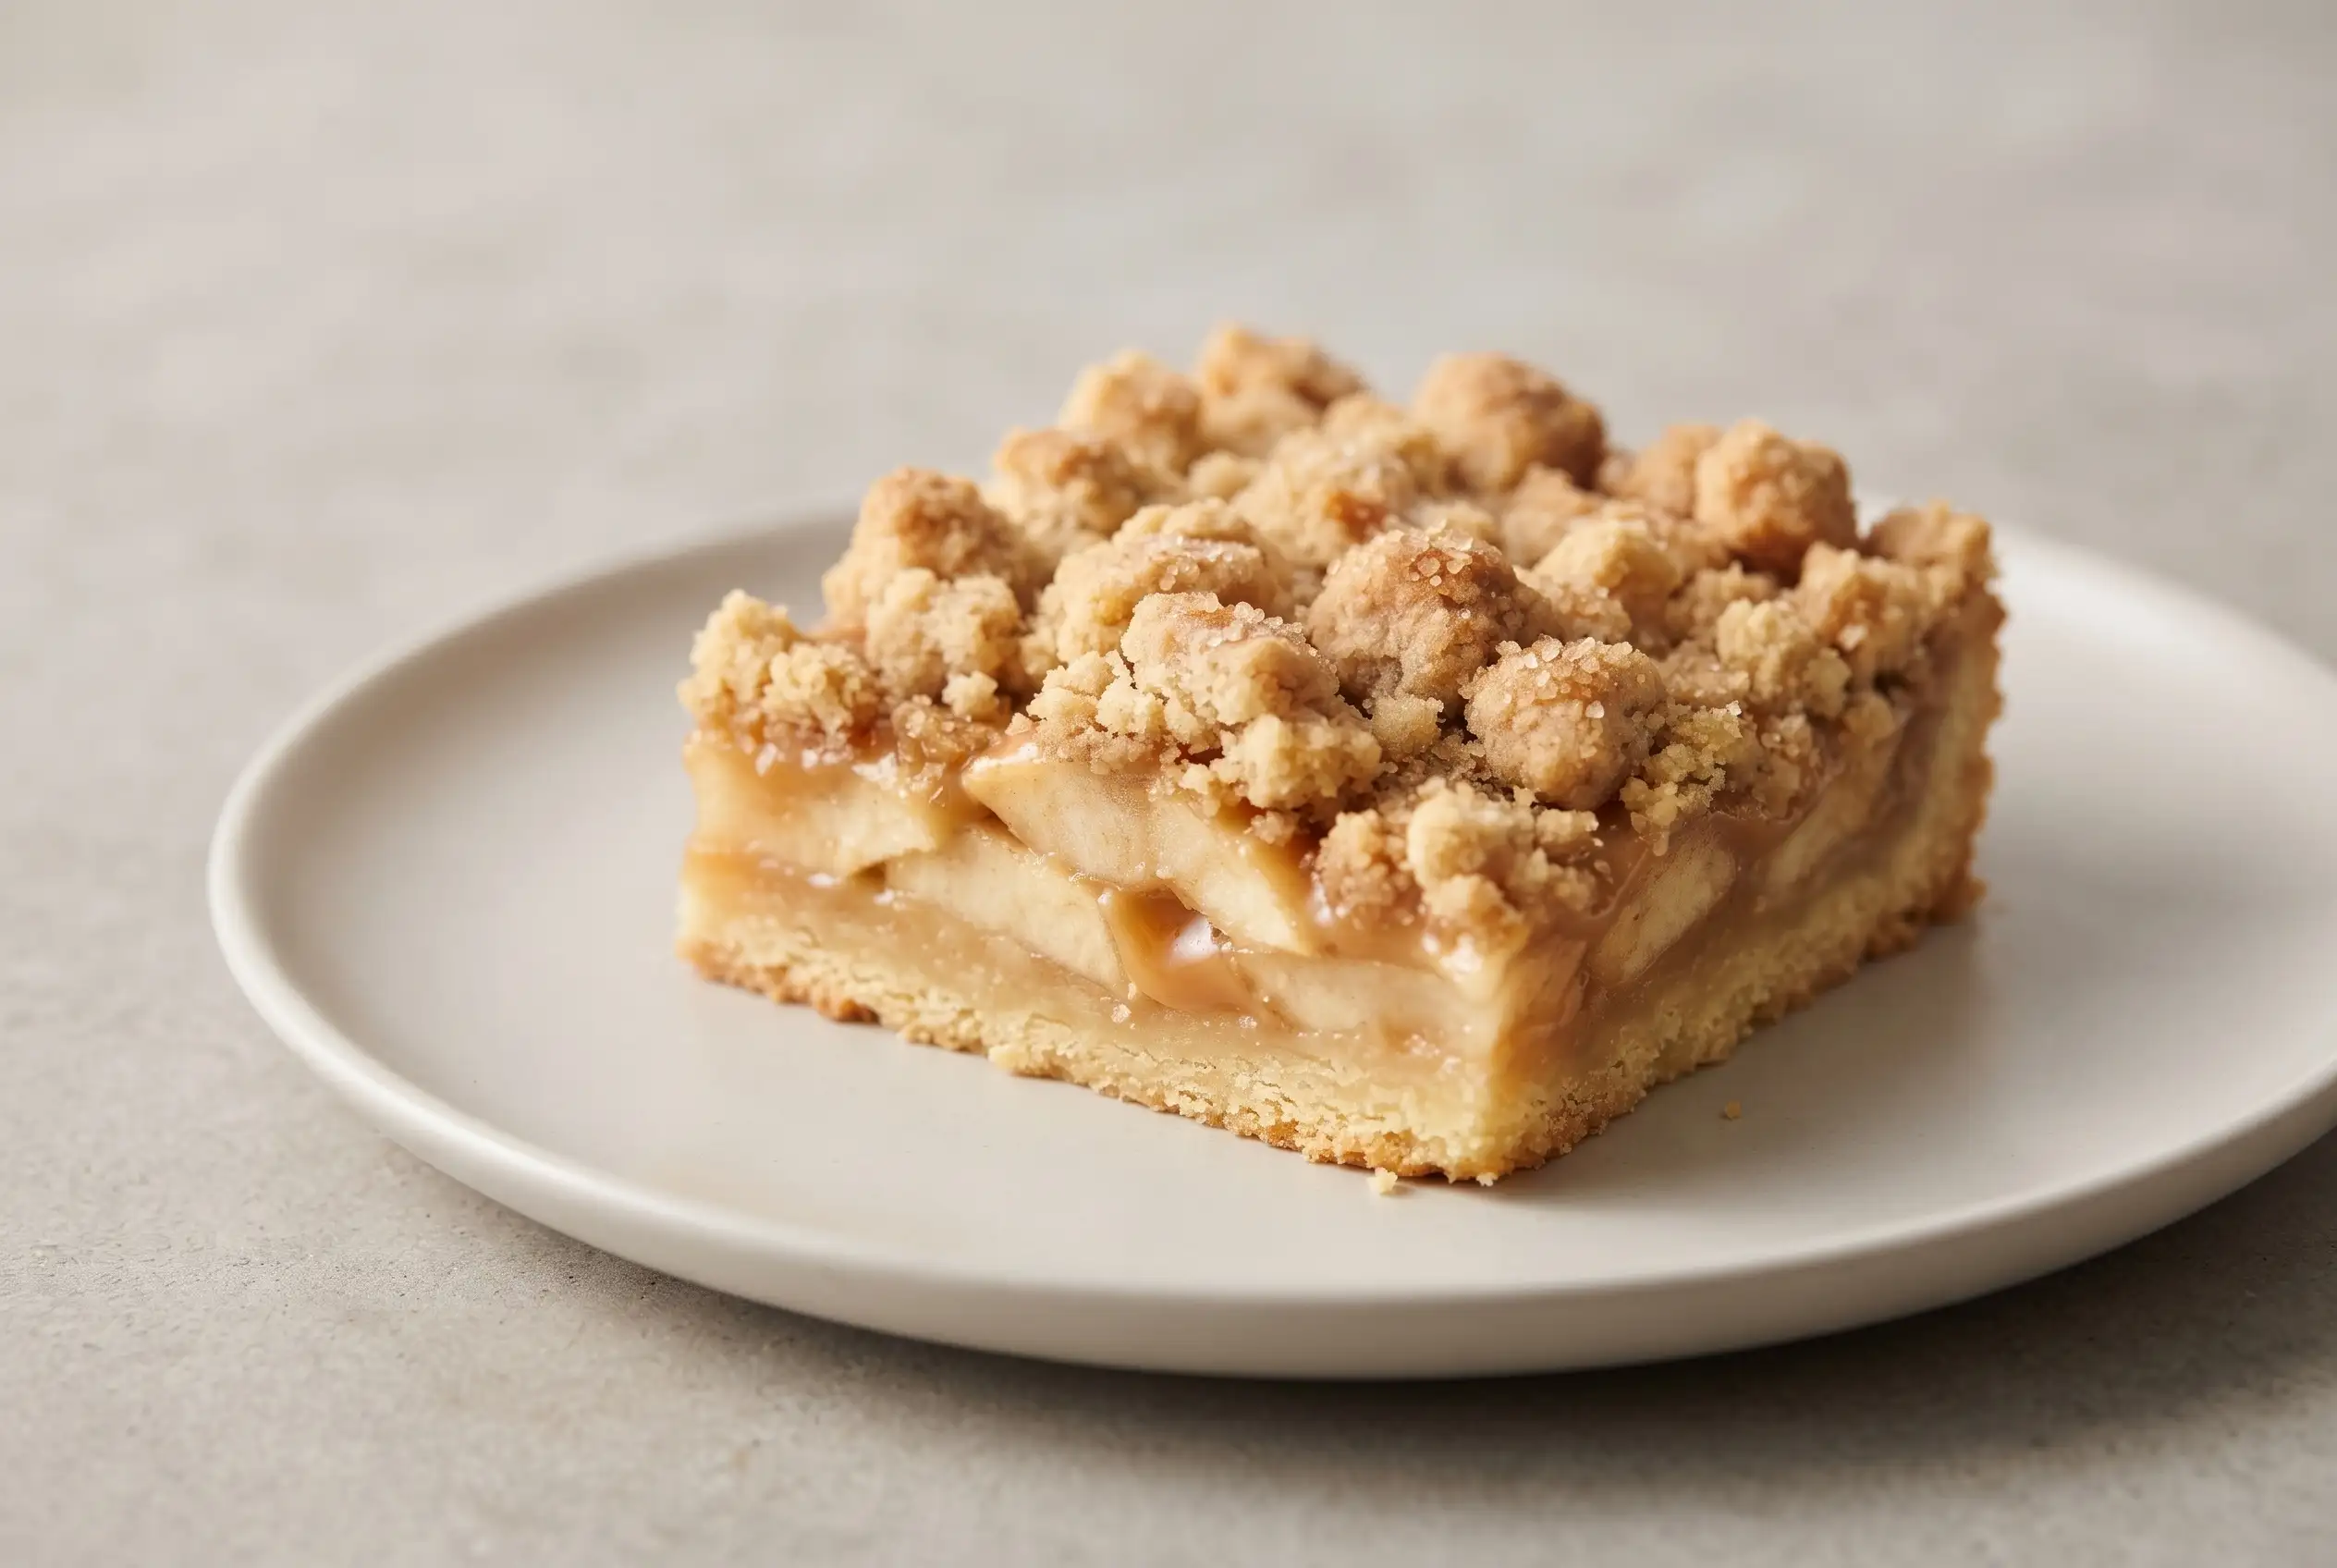
Caramel apple crisp bars bring together three textures that make an especially satisfying dessert: a buttery crumb crust, thin tender apple slices, and a creamy caramel layer that settles into the fruit as it bakes. The apples stay central, while the crumb topping gives the bars their crisp, nubbly finish.
For caramel apple crisp bars, the small details matter most. Paper-thin apples cook evenly, the crust needs enough flour to remain crumbly, and the caramel should reach a spoon-coating consistency before it goes over the fruit. Those checkpoints make the difference between distinct layers and a dessert that feels heavy or uneven.
Thin apple slices keep the bars balanced
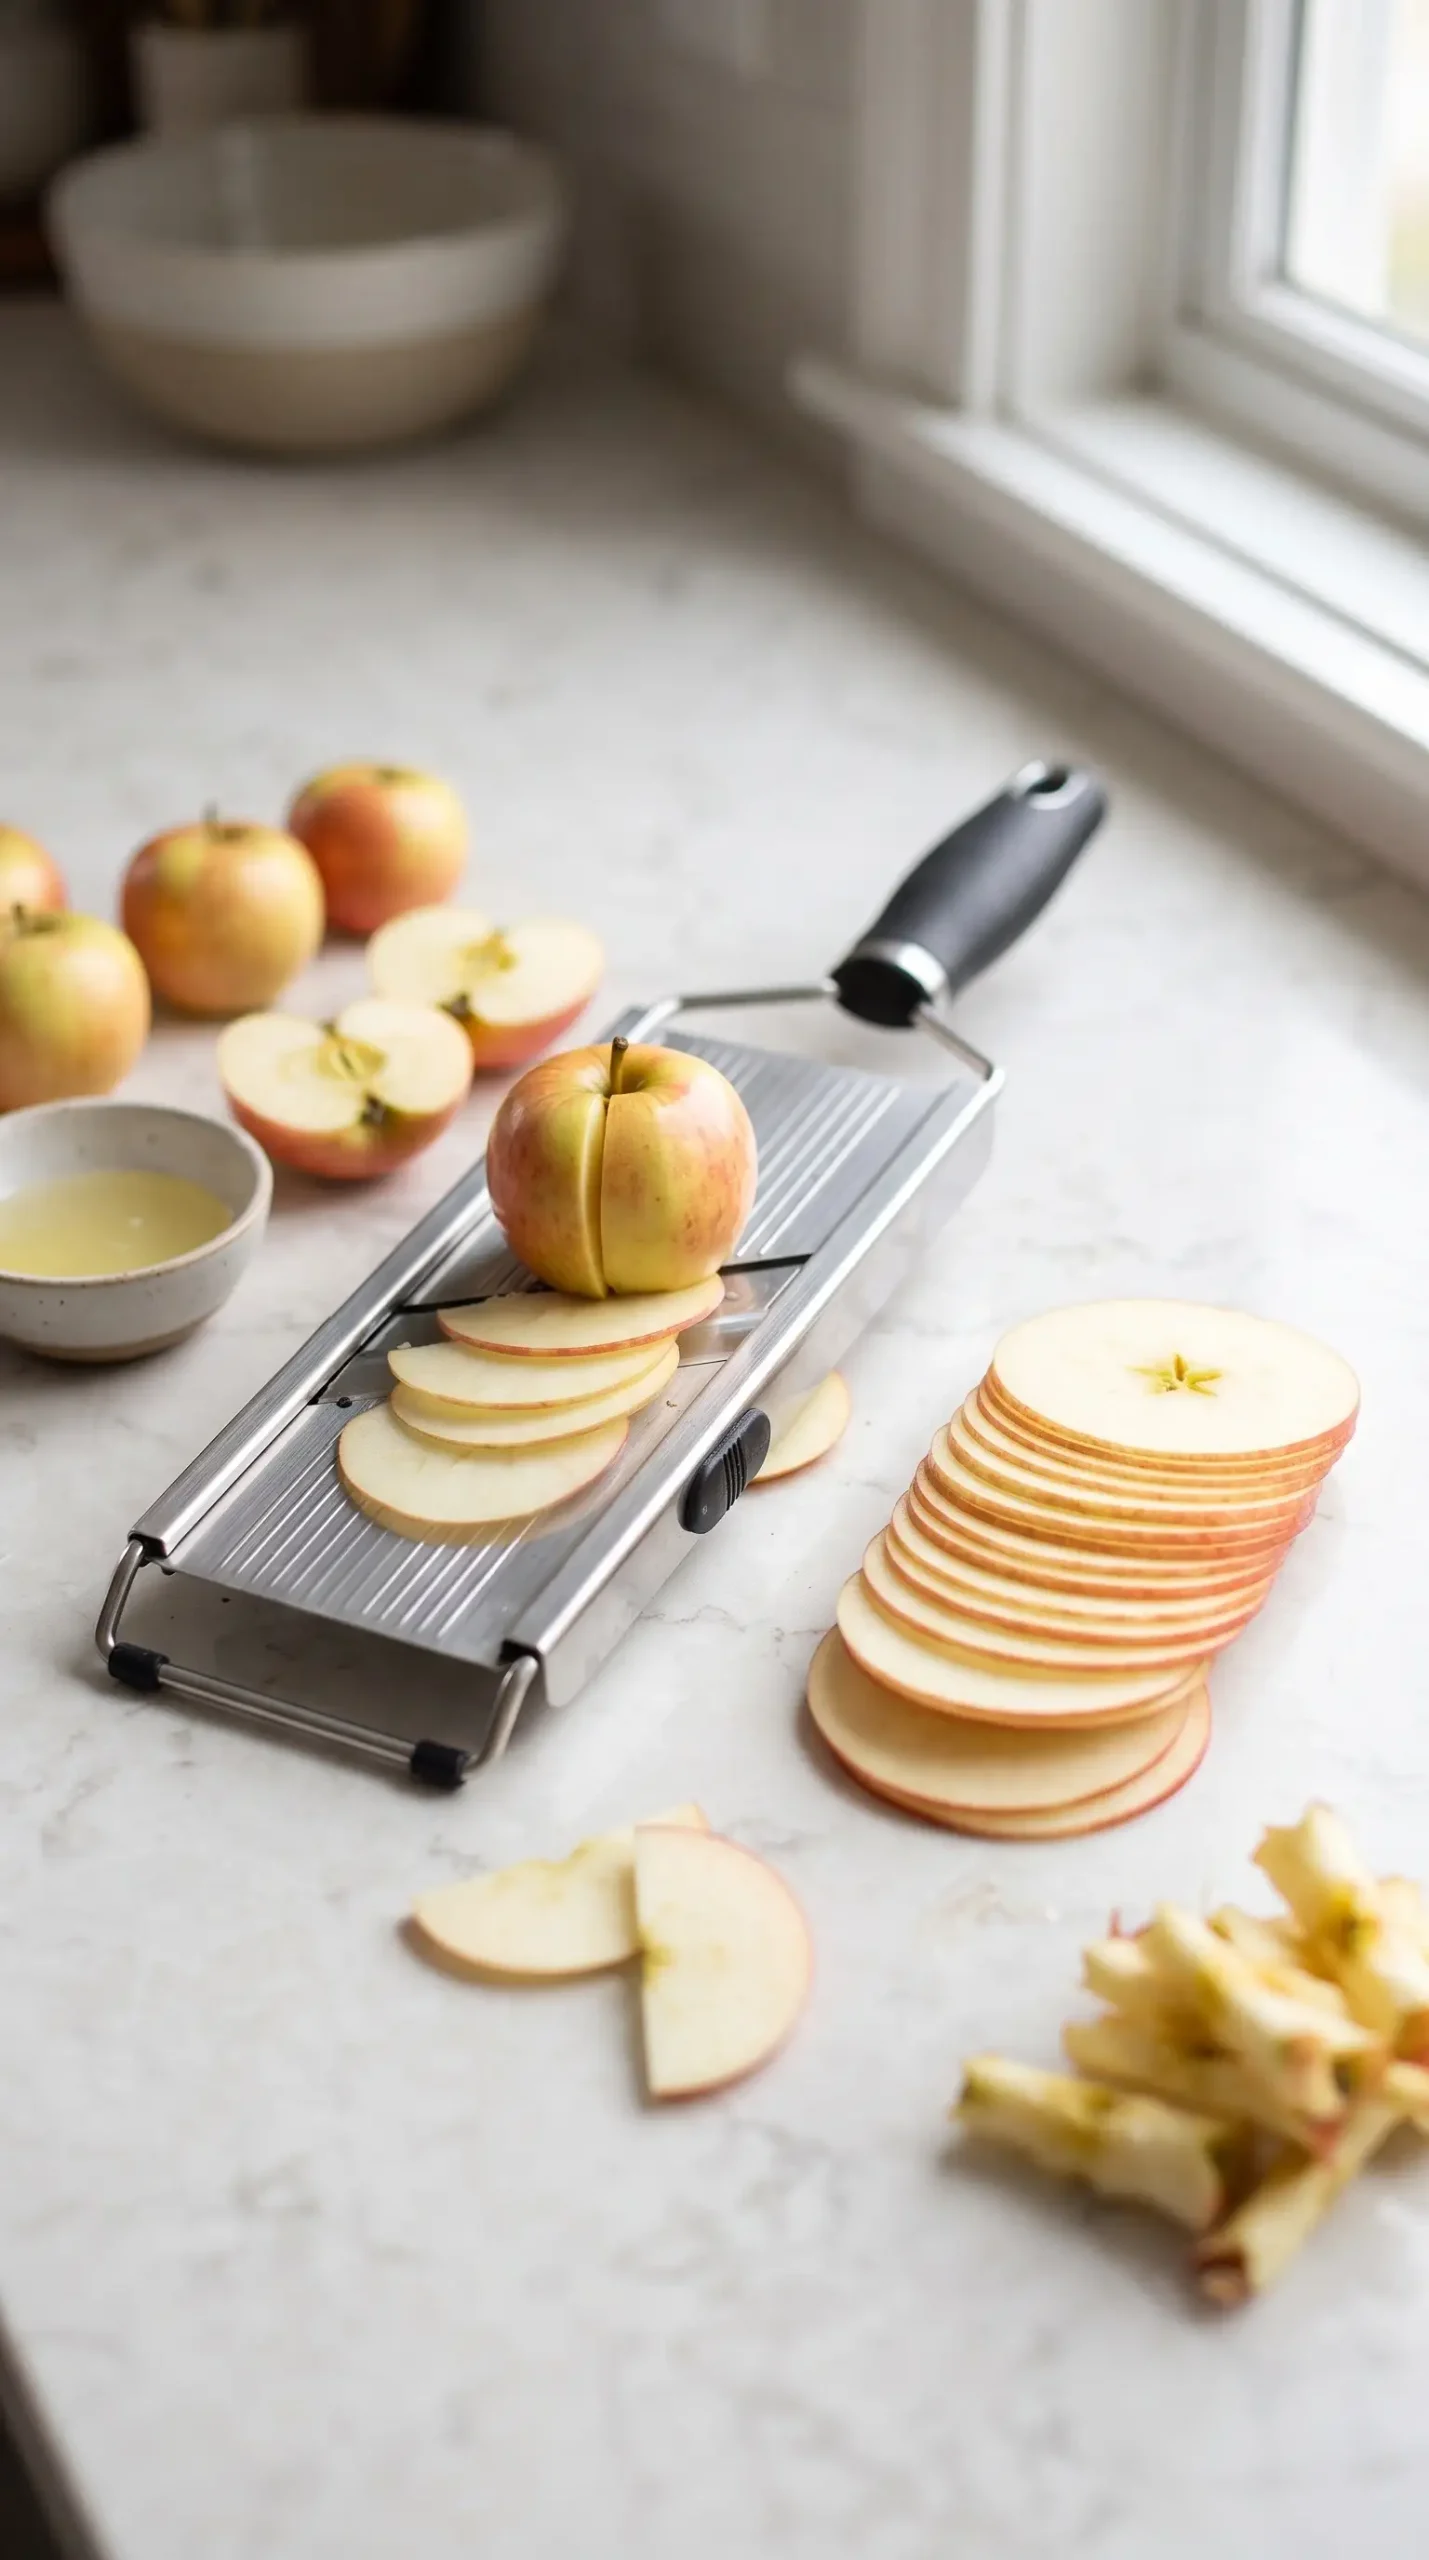
Apple thickness is one of the most important variables here because the fruit is layered over a partially baked crust before the bars return to the oven. Mandoline-sliced quarters create very thin pieces that overlap neatly and soften within the remaining bake. Hand-cut slices work too, provided they are cut as thinly as practical.
Keeping the slices consistent matters just as much as keeping them thin. A few thick pieces can remain firmer while the surrounding apples soften, leaving an uneven layer that is harder to cut cleanly. Arrange the slices in an even layer so each portion receives a similar amount of fruit and caramel.
Flour texture determines whether the crumb behaves
The flour is the part of the mixture that needs the most visual judgment. After the butter, brown sugar, cinnamon, salt, and baking soda are combined with the flour, the mixture should break into loose crumbs instead of becoming a smooth, cohesive dough.
That texture also explains why flour measurement can require a little flexibility. Scooping directly from a flour bag can produce a different amount from a lighter spoon-and-level approach. If the mixture readily forms crumbs that can be pressed into the pan, its texture is where it needs to be.
Reserve a portion of those crumbs before pressing the rest into the parchment-lined pan. The reserved mixture becomes the topping, so keeping it loose at this stage preserves the contrast between the firm base and scattered crumb layer later.
Caramel needs a brief visual checkpoint
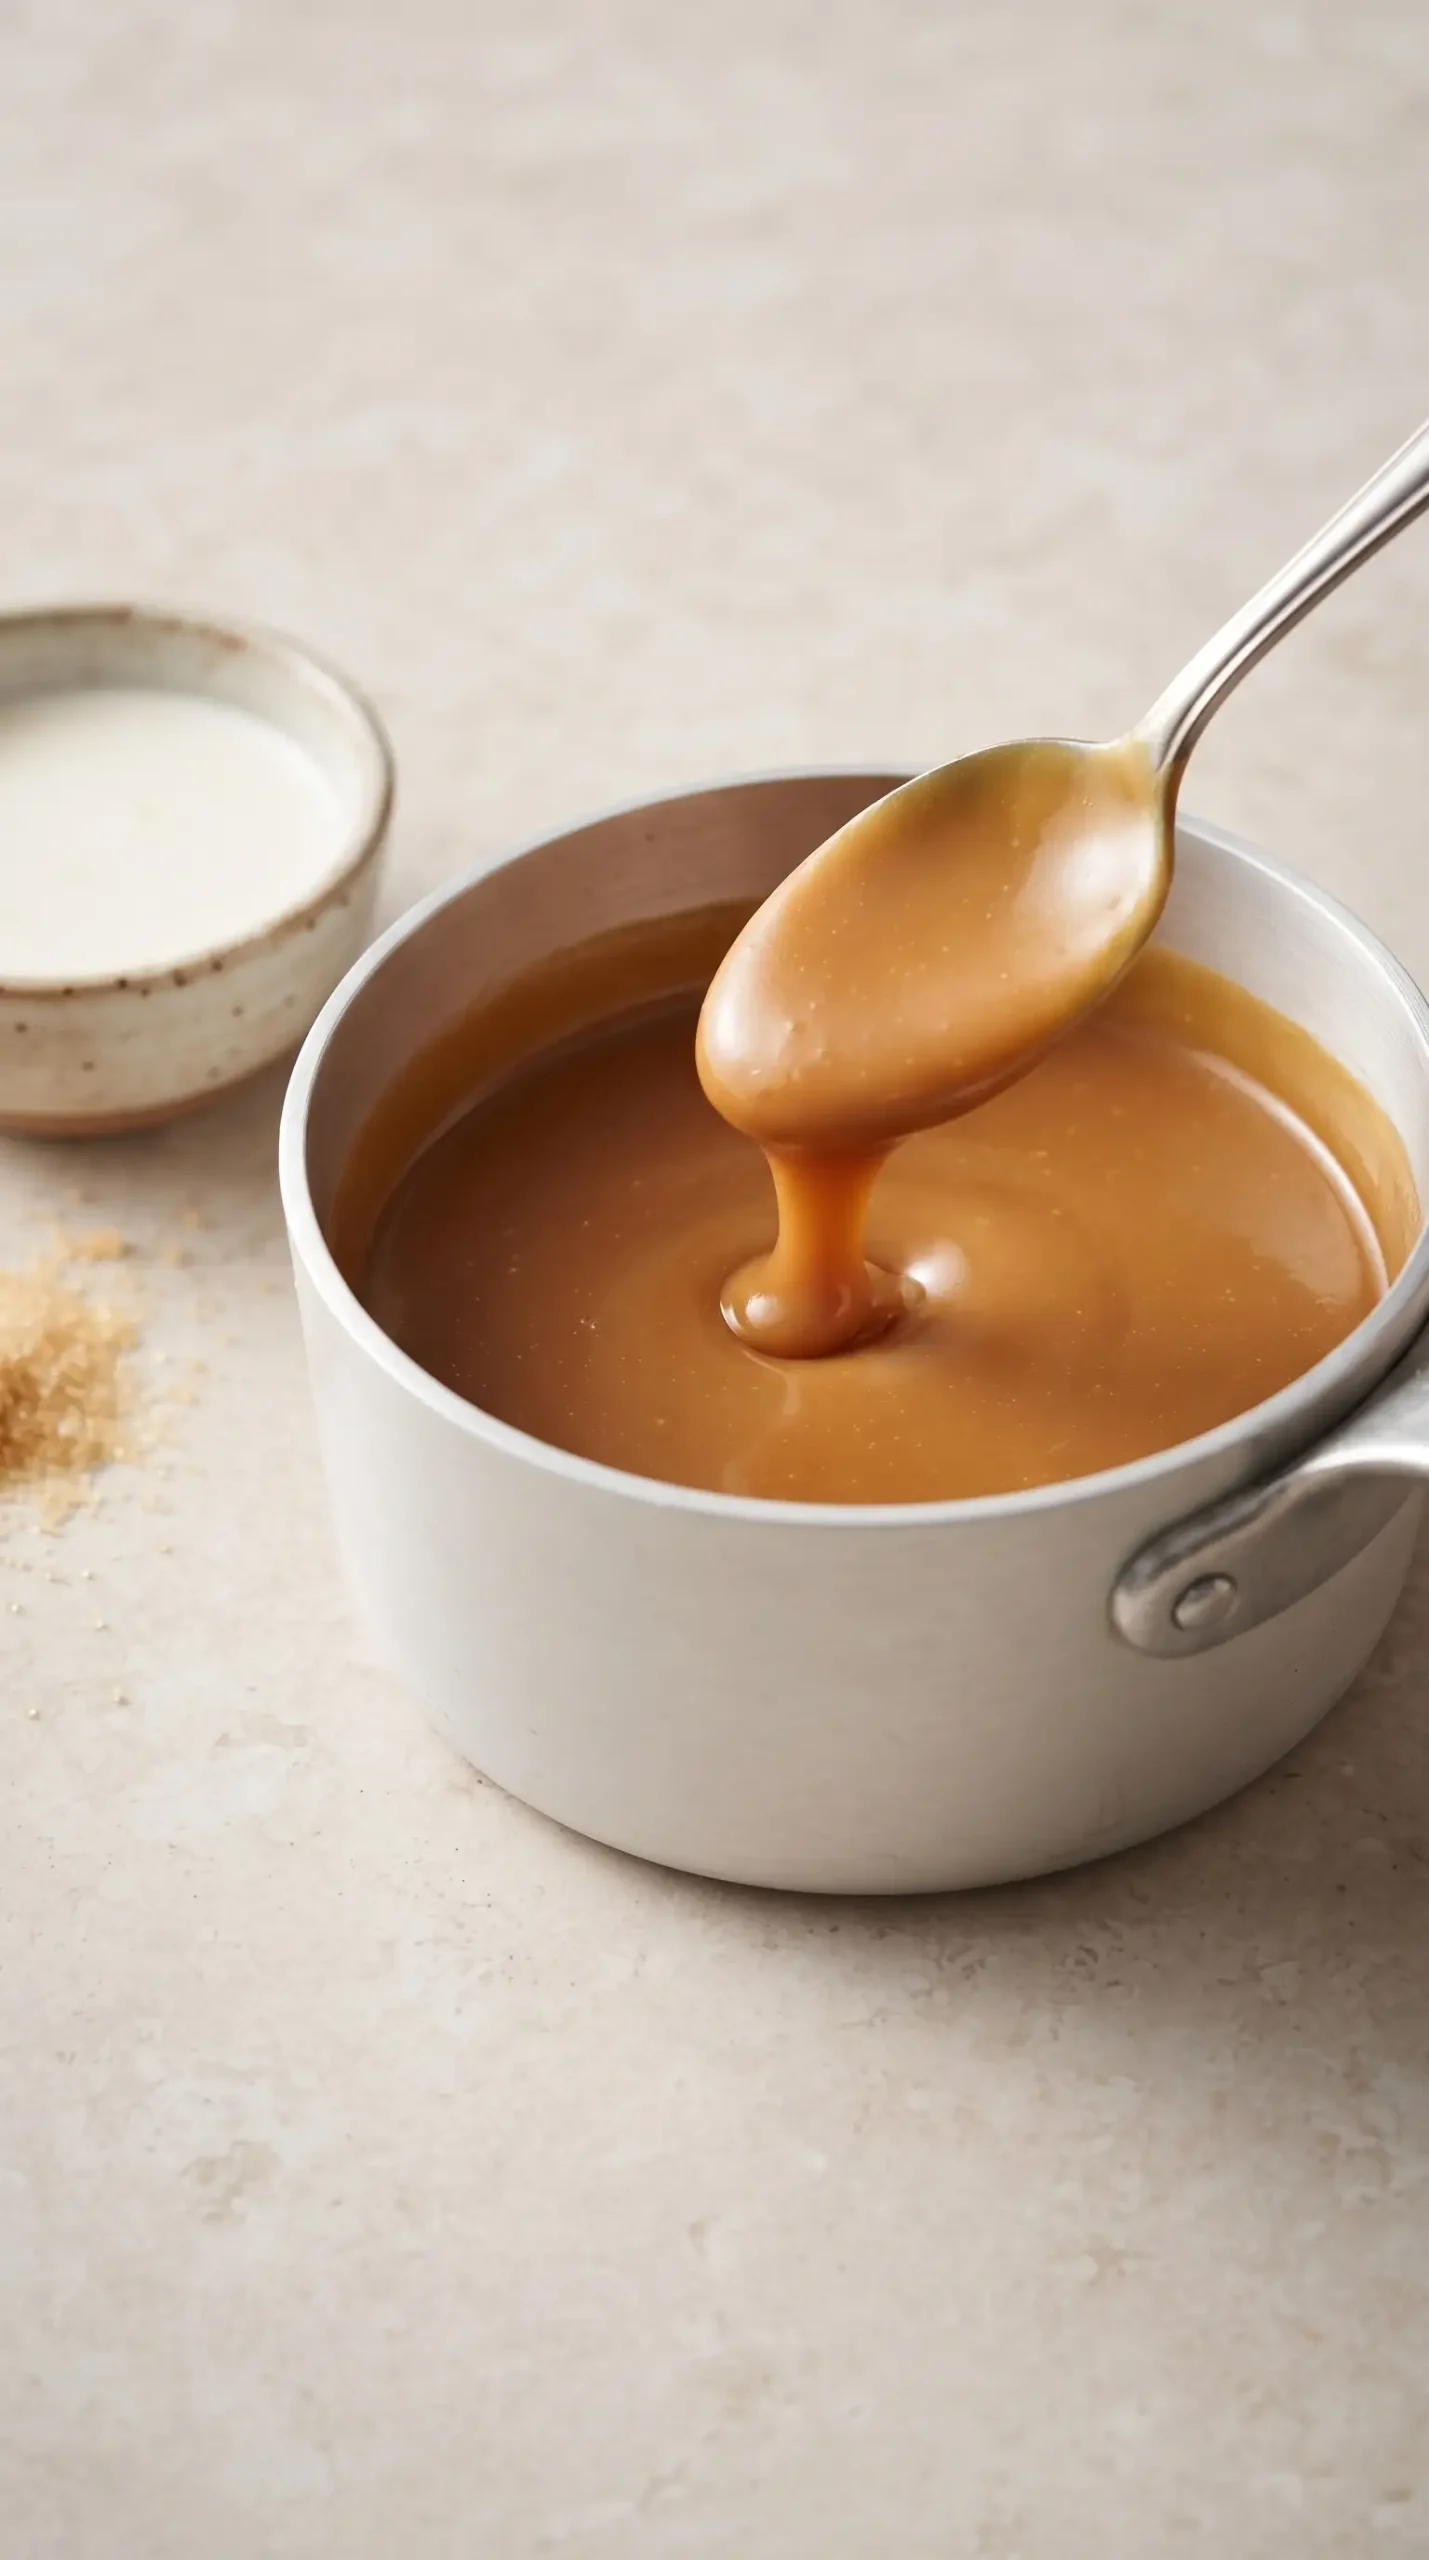
The caramel comes together from butter, brown sugar, sugar, and cream or half and half. Once the sugars are incorporated and the mixture is just about to bubble, adding the cream and stirring produces the creamy sauce needed for the apple layer.
A useful cue is the back of a spoon. The sauce should coat it instead of running away like a thin melted mixture. If the caramel is poured before it reaches that consistency, it can spread too freely across the fruit; if it is pushed much further, its texture can become less fluid and harder to distribute.
Apple choice changes the character of the filling
Four small apples form the fruit layer, but the exact variety is not specified, so the best practical choice is an apple you enjoy eating that can be sliced thinly. The important feature here is not a particular named variety. It is the apple’s ability to hold its shape enough to remain recognizable after baking while becoming tender.
Peeling is not required by the supplied method. Leaving the skin on can add color and a little texture to the finished bars, while peeling produces a softer, more uniform-looking fruit layer. Either approach can work with very thin slices.
Core the apples thoroughly before slicing. Quartering first makes the seeds and central core easier to remove, and the resulting wedges are easier to guide across a mandoline or slice by hand. If using a mandoline, protect your fingers and slow down as the pieces become small.
Three layers give the bars their crisp texture
The partially baked crust creates a stable base before the apples and caramel are added. That early bake is important because the crust would otherwise have to cook entirely beneath a moist fruit layer, which can change its texture.
Once the apples are arranged, the caramel flows into the spaces between the slices. The reserved crumbs sit above that filling and bake into a textured topping. Turbinado sugar adds another layer of crunch and a sparkling finish when scattered over the top.
| Apple preparation | What it does | What to watch for |
|---|---|---|
| Very thin, even slices | Creates a tender, cohesive fruit layer | Keep pieces similarly thin so they cook at the same pace |
| Thin hand-cut slices | Works without specialized equipment | Use a sharp knife and aim for consistent pieces |
| Uneven thick pieces | Creates mixed textures within one layer | Thicker sections may remain noticeably firmer |
Caramel apple crisp bars need controlled layering
Pressing the crust firmly into the parchment-lined pan gives the bottom enough structure to support the apples. It should cover the pan evenly without turning the reserved crumb mixture into a second dense dough.
After the crust’s initial bake, distribute the apples across the surface instead of concentrating them in a mound. An even layer helps the caramel reach more of the fruit and makes the finished bars easier to portion.
Pour the caramel over the arranged apples, then scatter the reserved crumbs across the top. A loose sprinkle gives the baked surface more texture than pressing those crumbs into place.
A parchment sling makes cutting easier
Lining the pan with parchment serves a practical purpose beyond keeping the bars from sticking. A parchment sling with overhanging edges lets you lift the cooled slab from the pan before cutting, keeping the delicate layers intact.
- Leave usable edges: Extend the parchment far enough over the sides to give you something substantial to grip.
- Lift carefully: Support the slab as it comes out so the still-warm caramel and fruit stay in place.
- Cut after a short rest: Give the layers time to settle before portioning.
Common caramel apple crisp bar mistakes are easy to spot
A crumb mixture that looks smooth and doughy has likely been worked past the texture needed for the crust and topping. Check the mixture before pressing it into the pan; it should break into crumbs that hold together when pressed.
Apple slices that vary dramatically in thickness are another visible warning sign. Thick pieces can lag behind thinner ones during baking, producing a fruit layer with inconsistent tenderness. Recut the largest pieces before arranging them if necessary.
Caramel that remains visibly thin after the cream is stirred in needs another moment of attention before it reaches the apples. The sauce should coat the back of a spoon, giving you a clear indication that it has developed enough body to cling to the fruit.
Finally, avoid judging doneness solely by the appearance of the caramel. The bars contain several layers, so the baked surface needs to be considered alongside the softened apple layer and browned crumb topping. Letting the slab cool briefly also makes the layers less fragile when lifted and cut.
Hand slicing works when the pieces stay consistent
A mandoline is useful for producing ultra-thin apple slices quickly, but it is not essential. A sharp knife can produce the same general result when the apples are quartered, cored, and sliced carefully. The important part is maintaining a thin, reasonably uniform layer.
Baked caramel apple bars benefit from a restrained topping
The reserved crumbs should remain visible across the surface instead of forming a continuous second crust. Their loose arrangement gives the bars the crisp, crumbly character associated with an apple crisp while allowing caramel and fruit to remain exposed between pieces.
Turbinado sugar is useful here for more than decoration. Its coarse crystals provide a distinct crunchy finish against the softer apples and caramel. A light scattering is enough to add that texture without obscuring the crumb topping.
Because the bars already contain brown sugar, granulated sugar, caramel, and sweet apples, restraint at the surface keeps the dessert from becoming visually or texturally overloaded. The topping should complement the fruit layer rather than bury it.
Cooling gives the layers time to settle
After baking, a brief cooling period makes the slab easier to handle and cut. The caramel is hot when the pan leaves the oven, and the fruit layer is still soft, so immediate slicing can disturb the clean separation between crust, apples, caramel, and topping.
Caramel apple crumble bars are easiest to portion cleanly
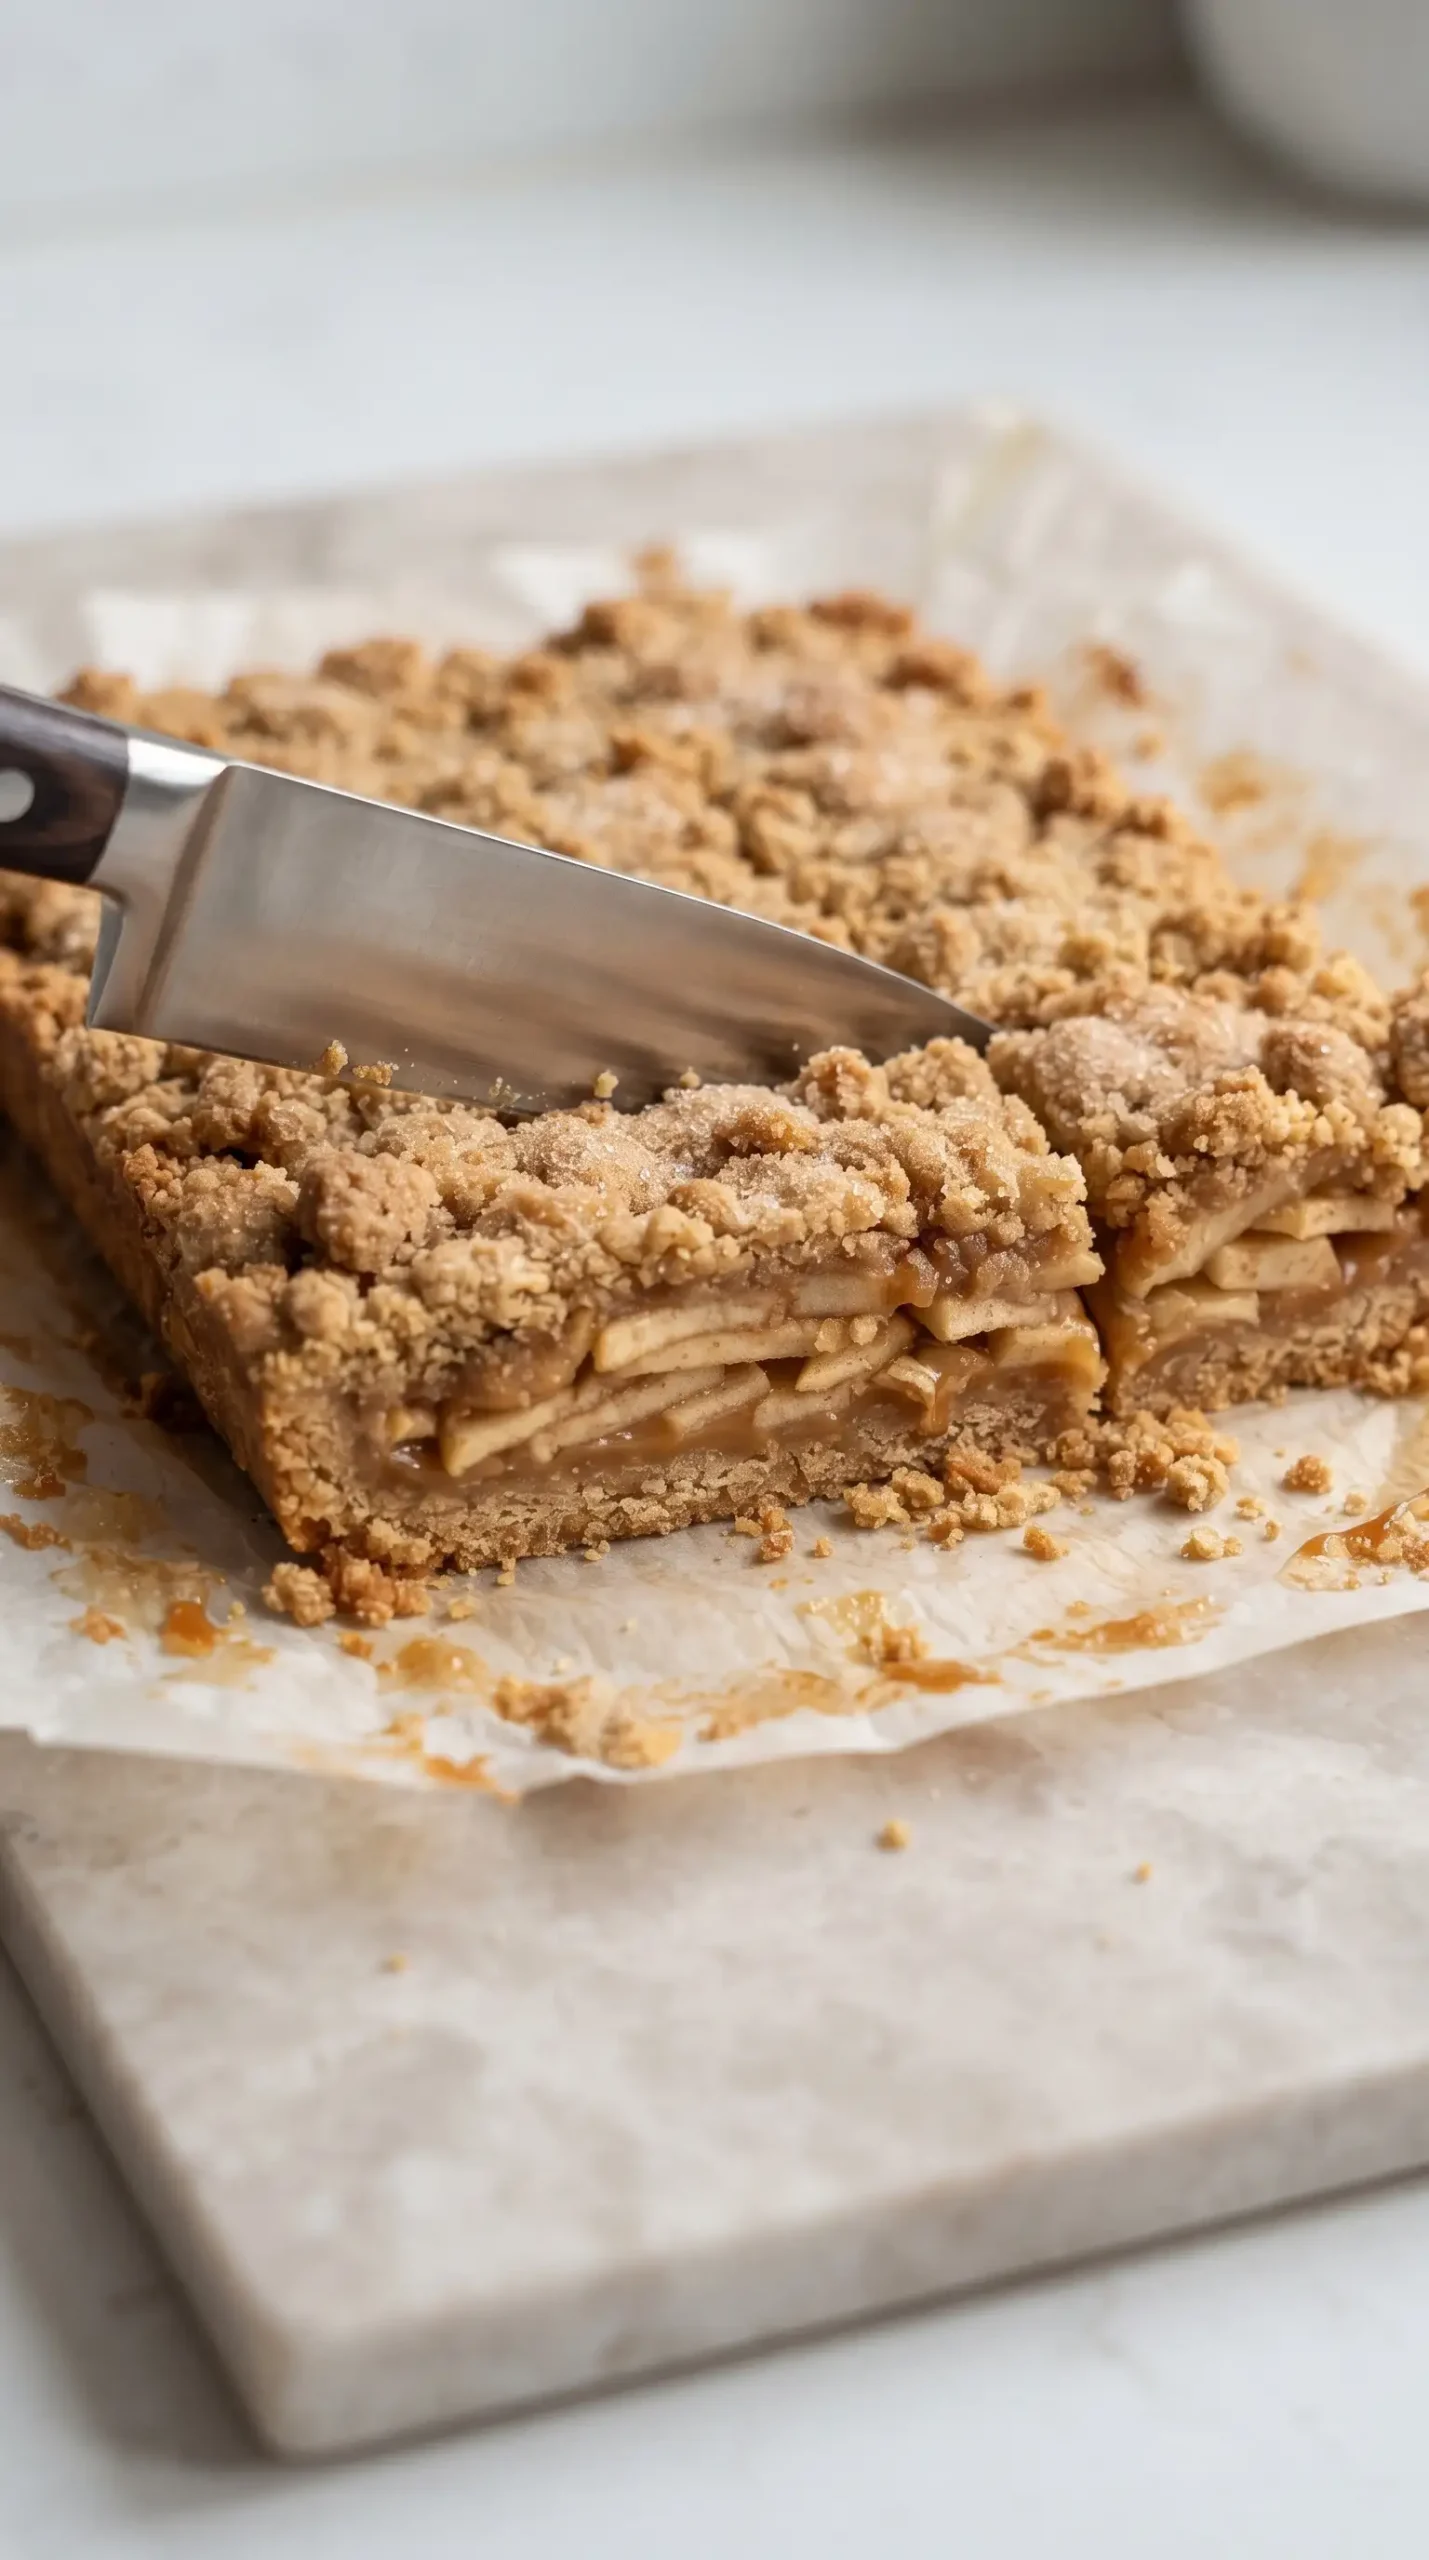
Use the parchment edges to lift the cooled slab from the pan, then transfer it to a stable cutting surface. A sharp knife is useful for cutting through the crumb topping without compressing the layers excessively.
Wipe the blade between cuts if caramel begins to collect on it. That small step helps keep the cut edges clearer and prevents sticky caramel from dragging crumbs across neighboring portions.
These bars are especially well suited to serving once the layers have had a chance to settle. The crisp topping remains distinct, the apples are easier to see in cross-section, and the caramel stays integrated with the fruit instead of flowing freely across the cutting surface.
What matters most for dependable caramel apple crisp bars
Paper-thin, evenly arranged apples and a crumb mixture that still looks genuinely crumbly are the two texture checkpoints worth watching most closely. The caramel should also reach the point where it coats a spoon before it is poured over the fruit.
Those observations keep the dessert’s structure intact: a buttery base underneath, tender apples in the middle, creamy caramel throughout, and crisp crumbs on top. Once those visual cues are right, the measured ingredients have a clear path to becoming cohesive caramel apple crisp bars.
Questions about apple slices and caramel texture
Can I slice the apples without a mandoline?
Yes. A sharp knife works well for these bars. Quarter and core the apples first, then slice the quarters as thinly and consistently as possible. Consistency matters because pieces of very different thicknesses will not soften at the same rate during baking.
Why does my caramel need to coat the back of a spoon?
That texture indicates the sauce has enough body to cling to the apple layer. The supplied method calls for adding the cream when the sugars are just about to bubble, then stirring until a creamy sauce forms. Using the spoon as a visual check gives you a practical endpoint without relying on a specific thermometer temperature.
Can I use half and half instead of cream?
Yes. The supplied ingredients allow either cream or half and half. Use the same amount and cook the mixture according to the same visual cue: after the cream or half and half is incorporated, the sauce should become creamy and coat the back of a spoon.
What should I do if the crumb mixture looks like dough?
Check the texture before pressing it into the pan. The mixture should form loose crumbs after the flour is incorporated. If your flour was measured particularly lightly, adding enough flour to bring the mixture back to a crumbly texture is consistent with the supplied guidance. Avoid adding flour blindly; use the appearance of the mixture as the deciding cue.
How can I keep the bars from falling apart when I cut them?
Give the baked slab a short cooling period before lifting it from the pan and cutting. Use the parchment edges to remove it as one piece, then cut on a stable surface with a sharp knife. Cutting while the caramel and fruit are extremely hot makes the layers more susceptible to shifting.
Caramel Apple Crisp Bars with a Creamy Caramel Layer
Ingredients
Method
- Heat oven to 350°F (177°C). Beat softened butter and brown sugar with an electric mixer until smooth and creamy. Mix in cinnamon, salt, baking soda, and flour until the mixture forms crumbs.
- Reserve 1 cup of the crumb mixture. Press the remaining mixture into a parchment-lined 9×13 baking sheet and bake for 12 minutes.
- Quarter the apples, remove the seeds and cores, and slice the pieces very thinly using a mandoline or knife.
- Melt the butter in a saucepan. Stir in both sugars, and once the mixture is combined and just beginning to bubble, add the cream or half and half.
- Stir the sauce until it becomes creamy and coats the back of a spoon.
- Arrange the sliced apples evenly over the baked crust and pour the caramel sauce over the apples.
- Scatter the reserved crumb mixture over the top and sprinkle with turbinado sugar.
- Bake for 30-35 minutes. Remove from the oven, lift the bars from the pan using the parchment edges, and allow them to cool for 10-15 minutes before cutting and serving.